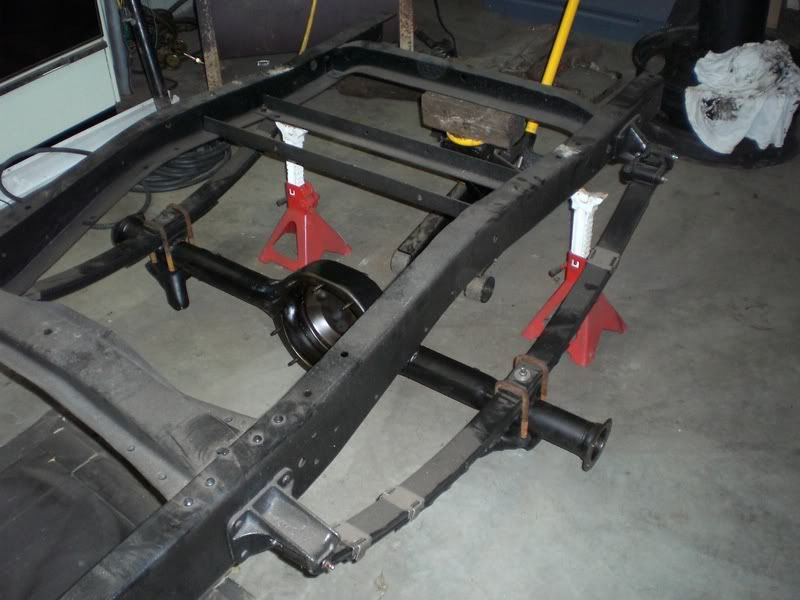
Well I got up fairly early today, thanks to Charlene for turning on the shop heater when she left for work. I got out there and rewatched a couple sections of the rear end assembly video. The 1st thing I did was bolt the empty housing up to the rear leaf springs. I figured it would be easier to reassemble it in sections so I didn't have to try and lift the whole thing up by myself.
So here's the empty housing bolted in
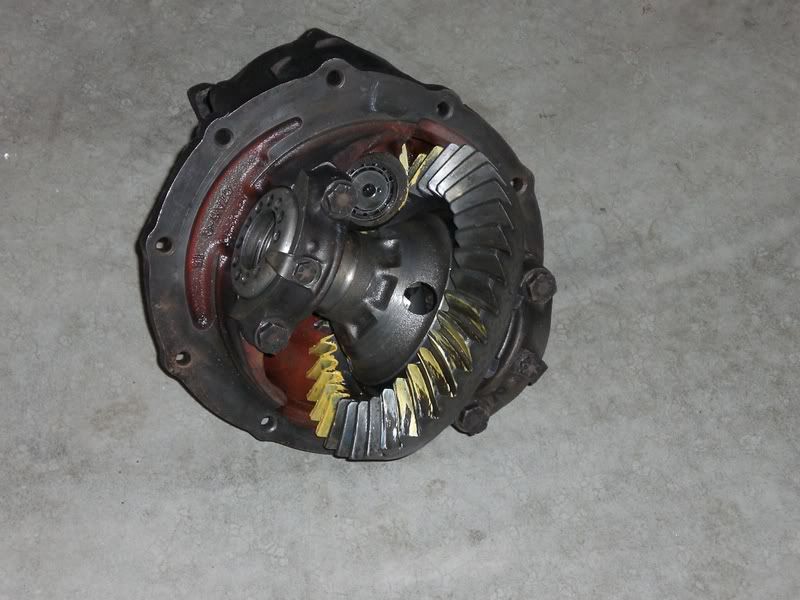
Next step, take my completed center section (seen here fresh from it's pattern check)
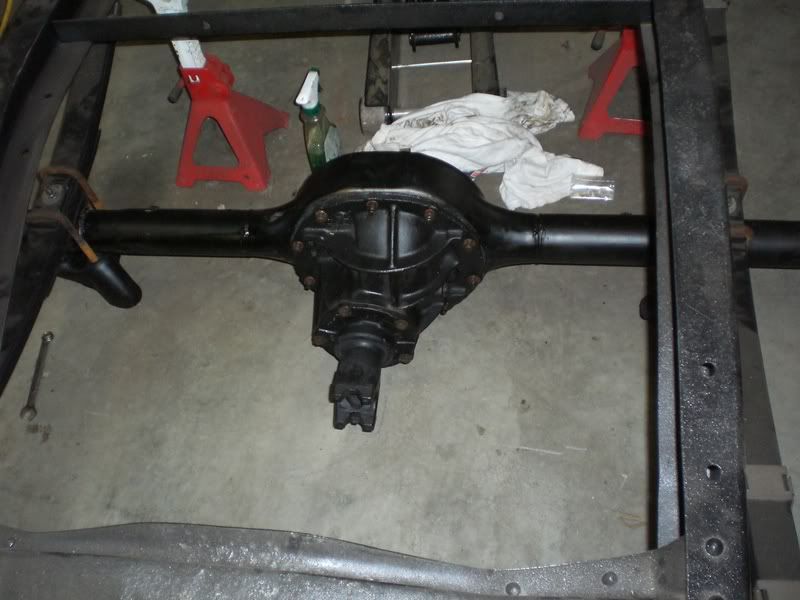
And install it in the housing. I hope it doesn't leak, I did a pretty good job of using RTV on both sides of the gasket, but the gasket didn't fit real great. Guess we'll see when I fill it up. Here it is all installed and torqued down
Then I installed the axle seals in the axle ends and pressed on the new bearings and retainers. From there insert the axles and bolt it all together. The axle shafts took a little convincing with a rubber mallet to seat everything properly, but it all went together very nice
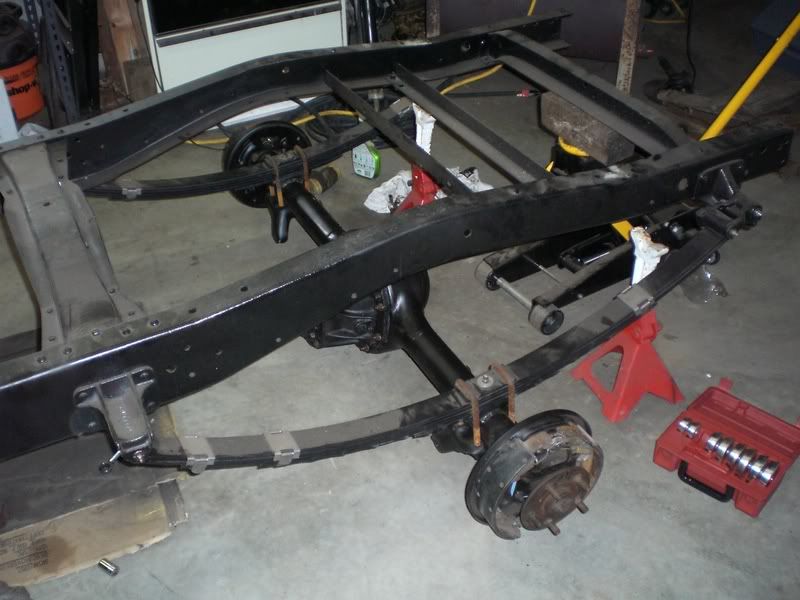
Pulled my old brake drums out of storage and found 2 wheels that would fit the bolt pattern. Look, we're on the ground!!!! That only took 3 years.
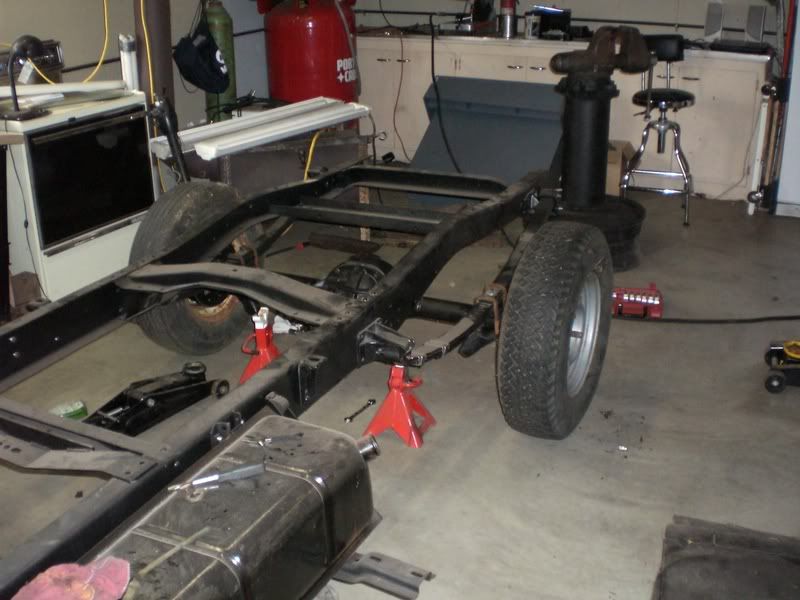
Here's a pic from the rear, it's starting to look like a truck!
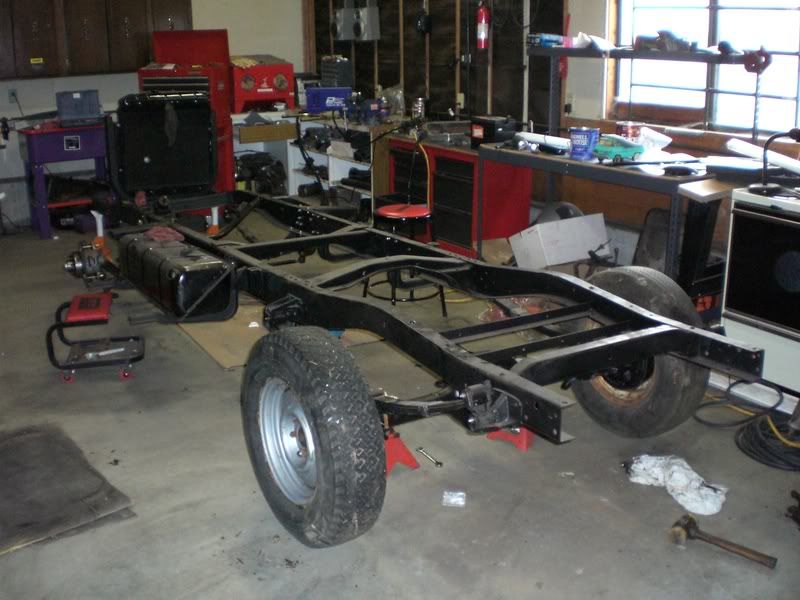
Then I turned my attention to the front and got a few things done before quitting time. I put the lower shock mounts on the right sides (thanks again Kent!), and installed the shocks.
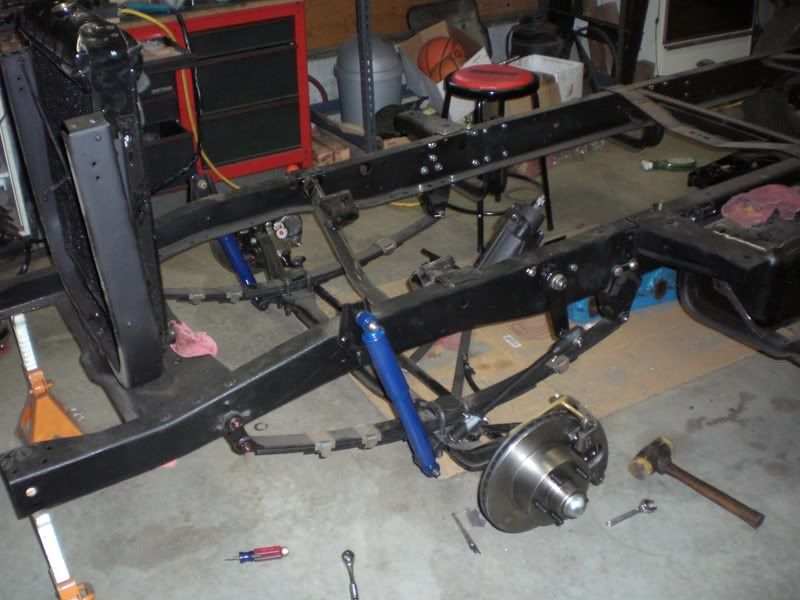
Here's a shot of all the stuff that has gone on lately from front to back
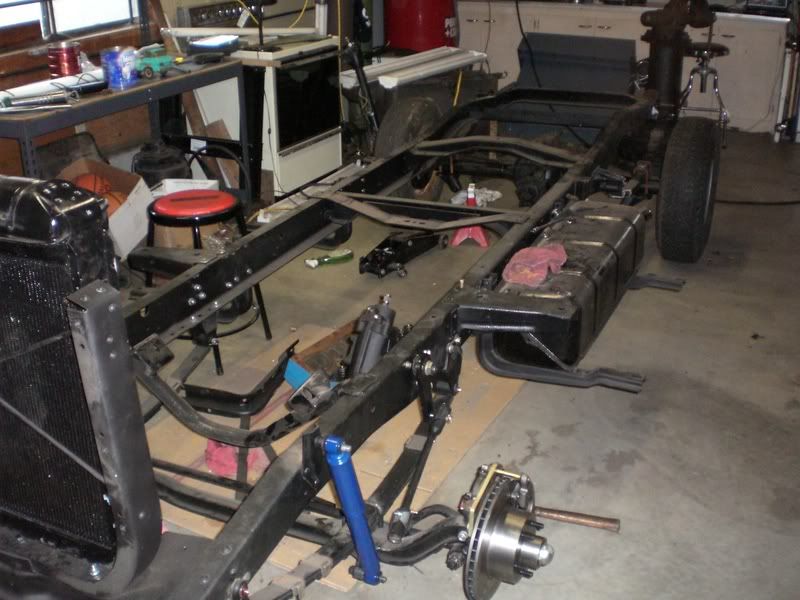
So what do we still need to do?
Go get the grease gun and grease ALL chassis zerk fittings
Get 2 wheels from the junkyard and set the front end on the ground
Get prepared to set the cab and engine on the frame and drill some holes.
These are exciting times, stay tuned.
No comments:
Post a Comment